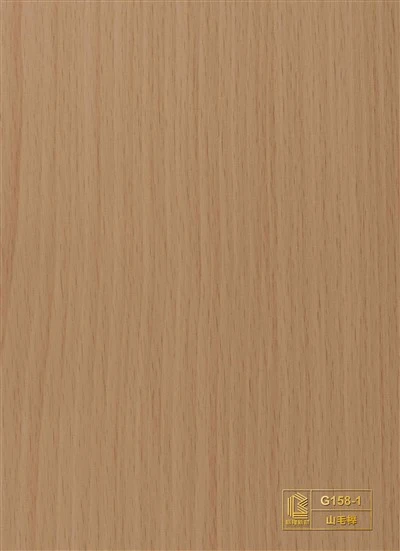

Installing wood grain film on a large area can seem like a daunting task, but with the right approach and a bit of know - how, it can be a rewarding DIY project or a professional installation. As a wood grain film supplier, I've seen the transformation that a well - installed wood grain film can bring to a space. In this blog, I'll share some tips and steps to guide you through the process.
Why Choose Wood Grain Film?
Before we dive into the installation process, let's quickly talk about why wood grain film is a great choice. It's cost - effective compared to real wood, easier to maintain, and offers a wide range of styles. You can find everything from the classic oak and walnut looks in our Wood Grain Decorative Film collection to more exotic grains. Plus, it's environmentally friendly as it reduces the demand for real wood.
Preparing for the Installation
Gather Your Materials
You'll need a few essential tools before you start. You'll need a utility knife for cutting the film, a squeegee to smooth out air bubbles, measuring tape for accurate cuts, and a straight edge to ensure straight lines. Also, get a cleaning solution to prep the surface and a lint - free cloth to dry it.
Choose the Right Film
The type of film you choose depends on your project. For cabinet doors, our Cabinet Door PVC Solid Wood Grain Film is a great option. It's durable and has an adhesive that sticks well to cabinet surfaces. If you're working on items that will be vacuum - pressed, then go for our Wood Grain PVC Film for Vacuum Pressing.
Measure the Surface
Accurate measurements are crucial. Measure the length and width of the surface you want to cover. Add a few extra inches to each measurement to account for any mistakes or adjustments. You don't want to end up with a film that's too short.
Clean the Surface
The surface must be clean and dry before you start. Use your cleaning solution and lint - free cloth to remove any dirt, dust, or grease. Any debris on the surface can cause the film not to adhere properly or create bumps under the film.
Installing the Wood Grain Film
Cut the Film
Lay the film on a flat surface and use your measuring tape and straight edge to mark the correct size. Then, carefully cut the film with your utility knife. It's better to make a few light cuts rather than one deep cut to avoid tearing the film.
Position the Film
Carefully place the film on the surface, lining it up with the edges. Start from one corner and gradually unroll the film onto the surface. It's a good idea to have someone help you, especially for large areas, to ensure it's placed straight.
Remove Air Bubbles
Once the film is in place, start using the squeegee to remove air bubbles. Start from the center and work your way out towards the edges. Press firmly but not too hard to avoid damaging the film. If you encounter any stubborn bubbles, you can use a pin to prick them and then smooth them out with the squeegee.
Trim the Edges
After you've smoothed out the film and removed all the air bubbles, use your utility knife and straight edge to trim the excess film along the edges. Make sure the cuts are clean and straight for a professional look.
Tips for a Successful Installation
Work in Sections
For very large areas, it's best to work in smaller sections. This makes it easier to manage the film and ensures that you can focus on getting each section right.


Temperature Matters
Try to install the film in a room with a moderate temperature. Extreme heat or cold can affect the adhesive properties of the film. Usually, a temperature between 60 - 80°F (15 - 27°C) is ideal.
Take Your Time
Don't rush the process. It's better to spend a bit more time doing it right than to end up with a messy installation that you'll have to redo.
Troubleshooting
Adhesion Problems
If you find that the film isn't sticking properly, check the surface to make sure it's clean. You can also try warming the film slightly with a hair dryer to activate the adhesive.
Wrinkles
If you get wrinkles in the film, you can try to smooth them out with the squeegee. If they're still there, you may need to carefully lift the film and re - position it.
Conclusion
Installing wood grain film on a large area is definitely doable with the right steps and a little patience. Whether you're looking to update your kitchen cabinets, give your office furniture a new look, or work on a large - scale commercial project, our wood grain films offer a great solution. We have a variety of options like Solid Wood Grain PVC Shrink Film and Natural Solid Wood Grain for Panels to meet your needs.
If you're interested in purchasing our wood grain films or have any questions about installation, feel free to reach out to us. We're here to help you make the best choice for your project and ensure a smooth installation process.
References
- DIY home improvement guides from home improvement stores.
- Manufacturer's installation instructions for wood grain films.